

Images are important for your blog.
They add important visuals and make your posts more engaging.
There are many types of images:
- Infographics
- graphs and charts
- GIF files
- Screenshots
- photos
- and more
In this article, you will learn different ways to upload images at different places and getting things done right.
So Let’s begin…
An Overview of the Media Library
First thing you need is to know what the media library is and how to use it.
Media Library is the area in your site that consists of media files which include image files, video, recordings, or any other files that you upload to the website.
The fact is:
It doesn’t matter where you upload the images on the website, eventually, all the images reside in Media Library.
And, later on, if you want to edit the images or delete them, you can do it right from the media library.
Let’s move forward:
How to upload images to WordPress
The benefit of uploading images to the Media library is you can upload bulk images all at once.
Here’s how to do it.
How to upload images to Media Library
To upload the images to Media Library,
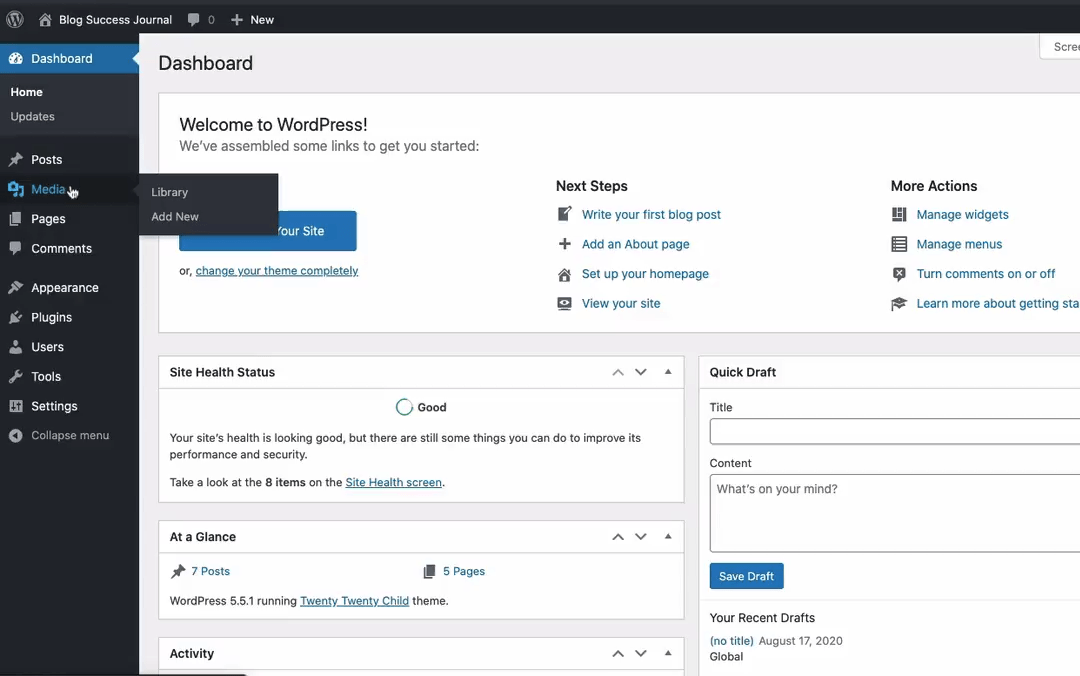
Go to Media >> click on “Add New”
Now, click on “Select Files”.
A pop-up window will open.
Next, select the images to upload. Or, you can drag the bulk images and drop them inside the dashed-line box.
After uploading, you can fill in the properties or you can leave it and edit the properties while using those images.
How to upload images to posts or pages on WordPress?
There are mostly two ways to upload images to posts: Using the “Add Media button” and the “Drag and Drop” method.
Note: Wherever you upload the images, it will open up your Media Library.
Adding images on Classic Editor
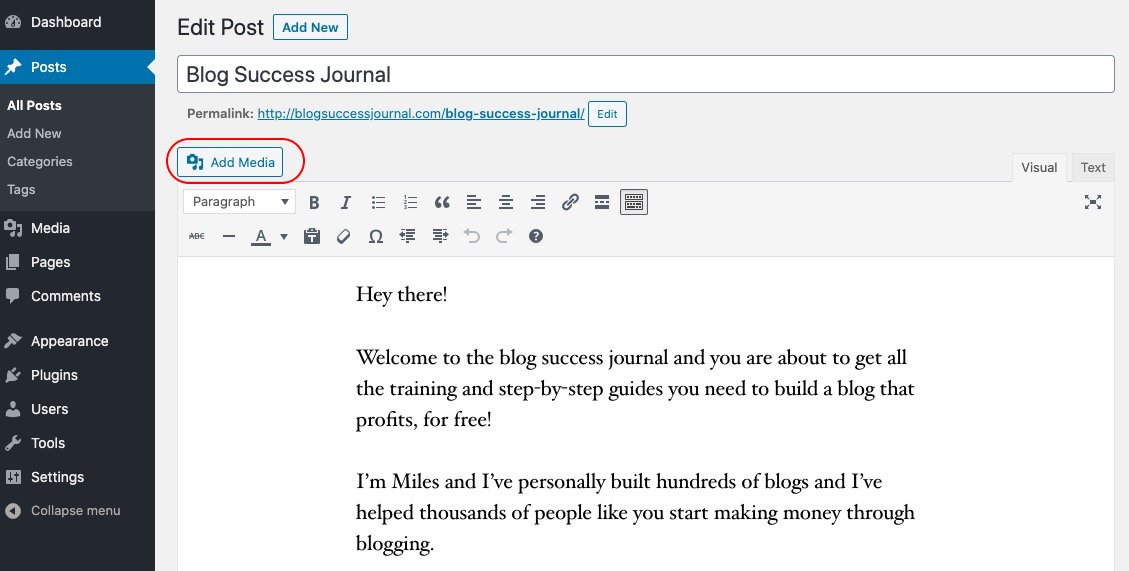
On the post editor, click on the “Add Media” button at the top of the formatting toolbar.
The media library pop up, click the “Upload Files” tab, and then, click select files.
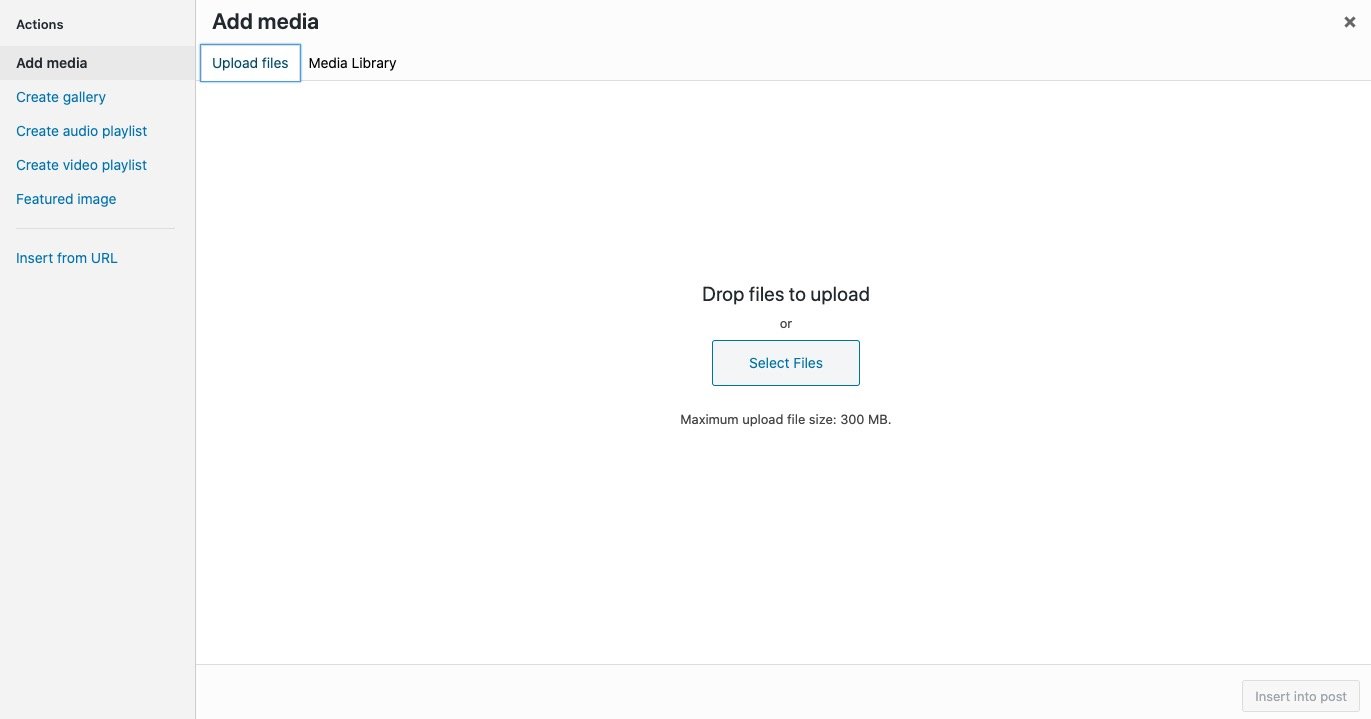
Select the file(s) and upload it. Fill up the image properties and click “Insert into post”.
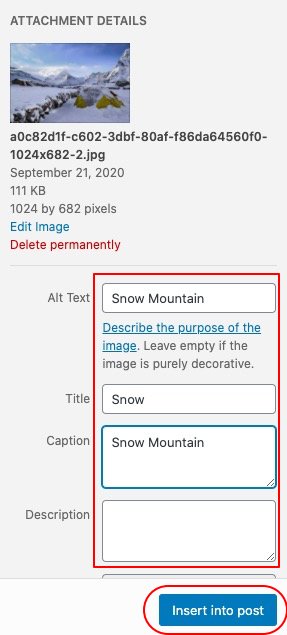
Some Image properties you should know:
Alt-Text: Alternate text to replace the image, if the image is unable to load, plus Alt tag helps in SEO
Title: What the image is called? The title appears on the browser title when you open up the image.
Caption: Appears just below the Image
Description: Displayed on the image’s attachment page.
Links to: If you scroll down the property, you will notice links to the section where you can link the image to particular webpages. If someone clicks on that image, it will redirect them to the webpages instead of opening the image.
Tip 1: Before you click on Add media, put the cursor at the appropriate place where you want the image to appear.
Tip 2: After you click on the “Add Media” button, the pop-up will open with the Media Library tab, You can directly drag and drop the image and enter the properties and click insert into post.
Uploading images on Gutenberg (block) Editor
On Gutenberg, you need to upload an image block before you can add the image to the media library.
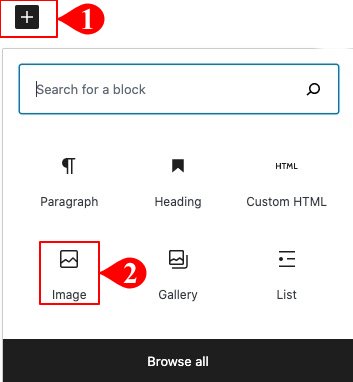
Click on the “+” symbol to add a new block.
Now, Click on the Image button.
Note: If the Image button is not displayed, type image on the search box.
The image block is ready to use.
Now:
Click on Upload to upload new images to the Media Library.
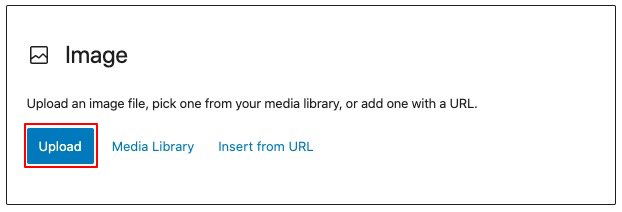
Select the file and click open. Then, fill up the Image properties and click insert into post.
Note: You can upload a single image at a time.
Tip: You can use Media Library to insert an image if the image is pre-existing. You can also use the image link if you have images hosted on other platforms.
Uploading Images to WordPress using Drag and Drop Method
The Drag and Drop Method is similar for both classic and Gutenberg editor.
On the post editor, place the cursor where you want to upload the image.
Then, drag the image by holding the mouse button and release the mouse button when you see “drop files to upload” on WordPress.
Note:
On Classic editor, you can drag and drop multiples image files at once. However, on the Gutenberg editor, if you try to upload multiple image files at once, the images will turn into a gallery block.
Uploading Images elsewhere on WordPress
Besides Pages and Posts, there are many other areas where you may need to upload images.
For example, you may need to upload the image to the sidebar, footer widgets, testimonial plugins, ad management plugins, and so on.
In that case, you will be provided with the “add media” button where you can easily upload the image following the above methods.
Note: If the “Add Media” button is not displayed then, You can use the image link and embed it using <img> tag. The HTML code to use an image is:
<img src=”example.com/1.jpg” alt=”image” />
How to upload Images to Sidebar or Widgets?
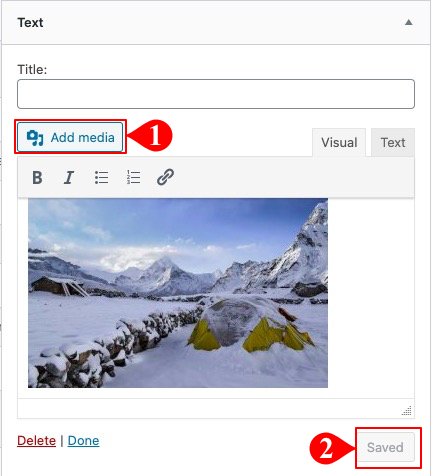
Go to Widgets under the Appearance menu, then, add a text widget.
Click on the “Add Media” button. Add the image and fill up the image properties and click on Add to post.
After adding an image click on save.
Wrapping it up
Now you know how to add images to WordPress posts, pages, sidebar, plugins, etc. in an easy and understandable form.