

If you are looking to create a transparent header in Elementor, you might be disappointed to know that Elementor doesn’t support creating a transparent header out of the box.
But, no worries. With just a few tweaks, you can take any header in Elementor and transform it into a transparent header. Let me show you how.
Before I start, I must clarify that this can only be achieved with Elementor Pro right now, and not the free version. Click here to get the Pro version, it is worth every penny.
How do you create a transparent header in Elementor?
- Create a header with Elementor Theme Builder
- Design the header and give it a transparent background color
- Set the header to have a fixed height
- Set the bottom margin of the header to the negative equivalent of the exact header height
- You’re done
Let us look at the process, step by step.
Note:
I’ve selected a basic theme for this demonstration, but the process will work with any other theme as well. Here is how my current theme looks like.

Install Elementor and Elementor Pro
Installing plugins inside WordPress is pretty easy. Make sure to install and activate both Elementor and Elementor Pro plugins.
Recreate Your Existing Header in Elementor
As I said, we need to recreate our existing header in Elementor first. Here are the steps to follow.
Head Over to Elementor Theme Builder
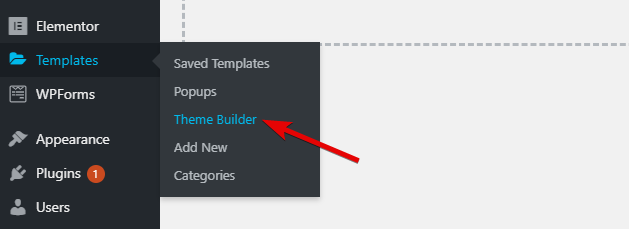
Navigate to the Elementor Theme Builder from Templates > Theme Builder.
Head Over To the Header Section
From the Theme Builder, head over to the Header Tab.
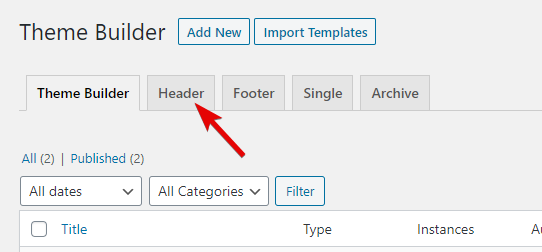
Click the “Add New Header” button.

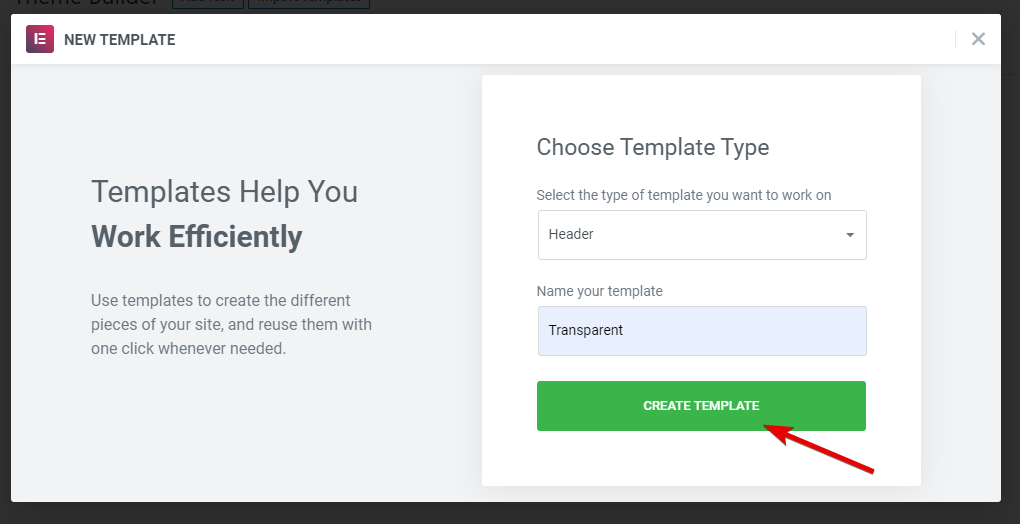
On the popup that appears, name your header with an appropriate name, then click the Create Template button. For this demonstration, I will use the name “Transparent”.
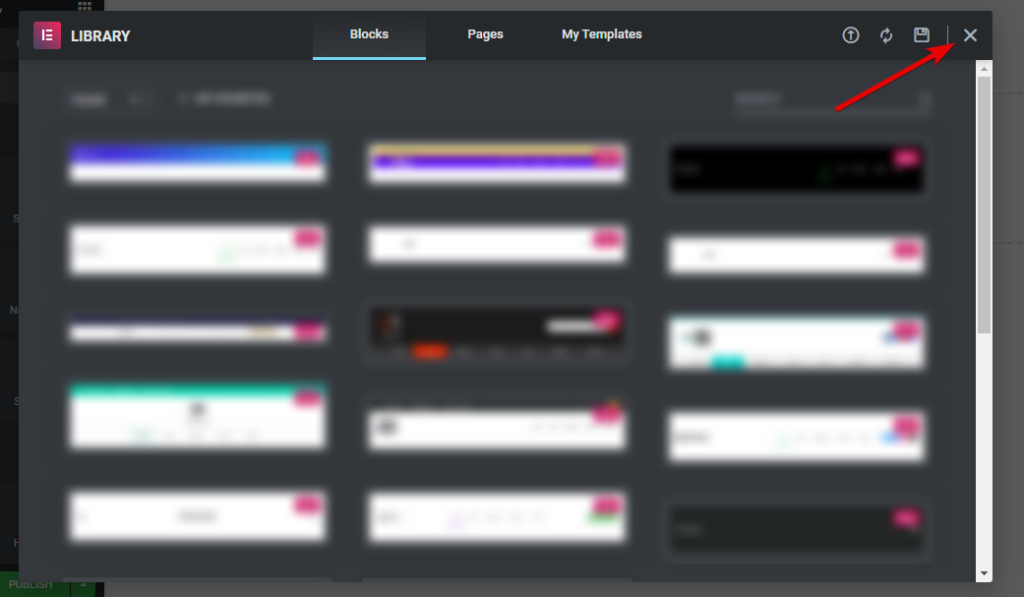
Elementor will load on the page, and you will be presented with the Blocks Library with a variety of headers. Click the “X” button on the top right to close the library, as we’re recreating the current one from scratch.
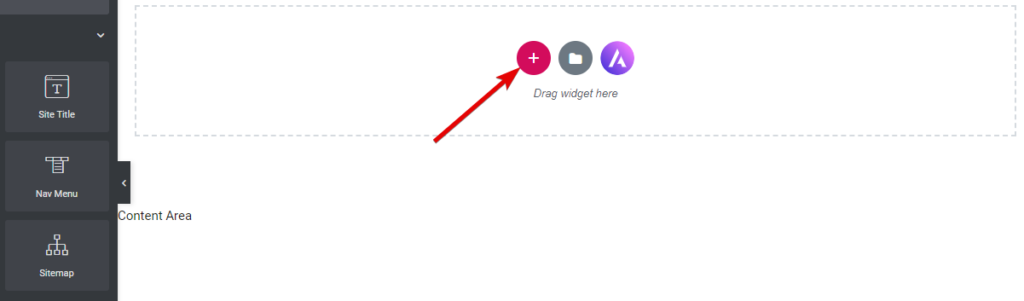
Click the “+” icon to create a new section.
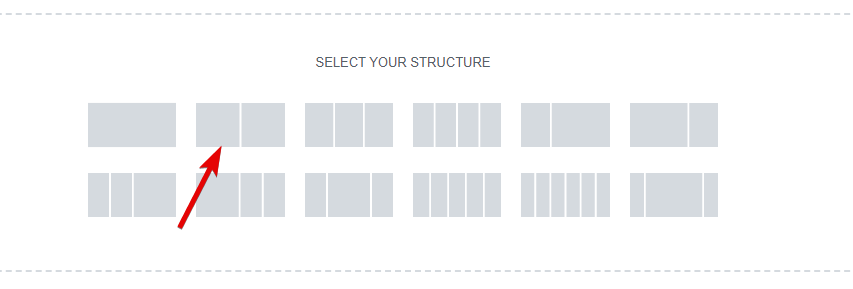
You can choose any one of the pre-made section divisions. For this demo, I’ll choose the 2 column layout.
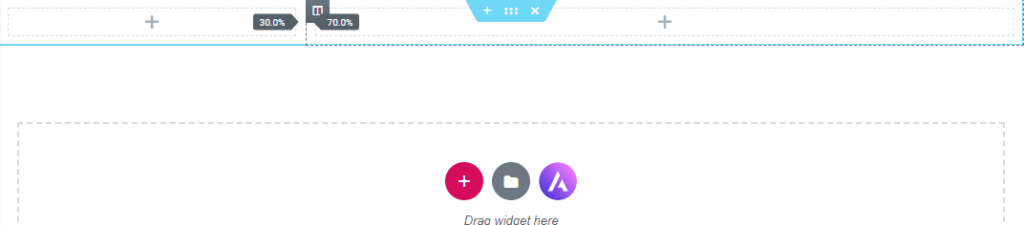
Now comes the designing part. Since your website will likely look different from this demo site, ignore the cosmetic elements, and focus on the key aspects. I usually divide the header in a 70/30 ratio.
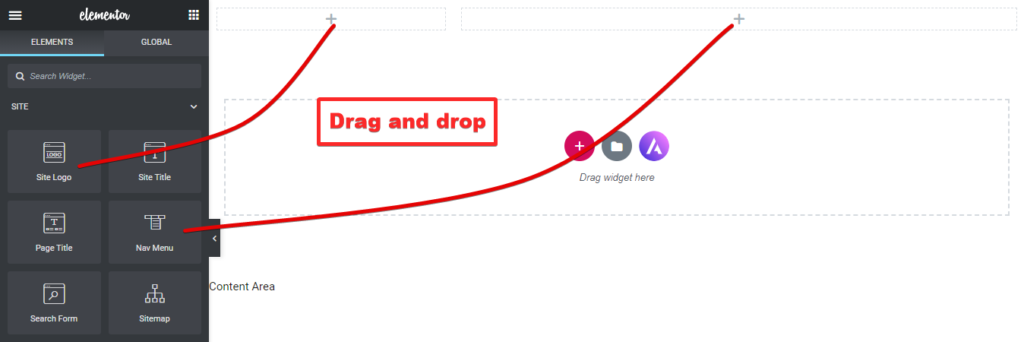
Next, I’ll drag my site logo to the left section and my Nav Menu to the right section to create a basic header layout.
Once that’s done, this is how my header looked like. Yours will look different, obviously.
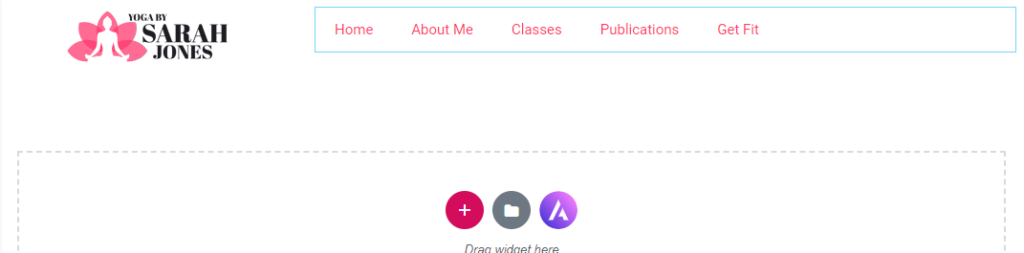
After a couple of simple styling changes, I changed my header to this. I also set a high z-index number so it always stays on top.
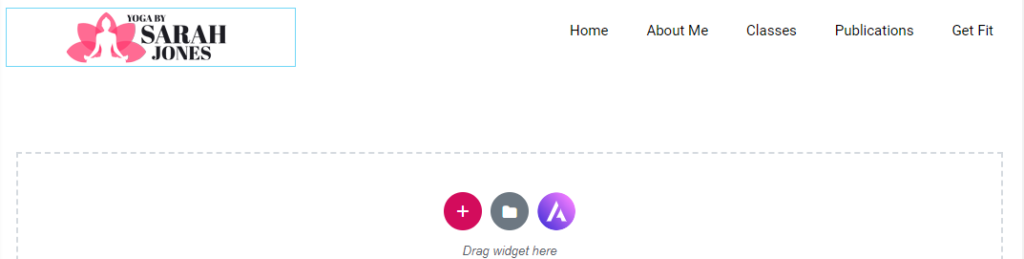
Until this step, all we’ve done is recreate the site’s existing menu with Elementor. Here is a quick look at the other existing one and the one we created.

Adding Transparency To The Header With Elementor Pro
Obviously, the new header is not transparent yet. The next few steps will help achieve that.
First, the important step.
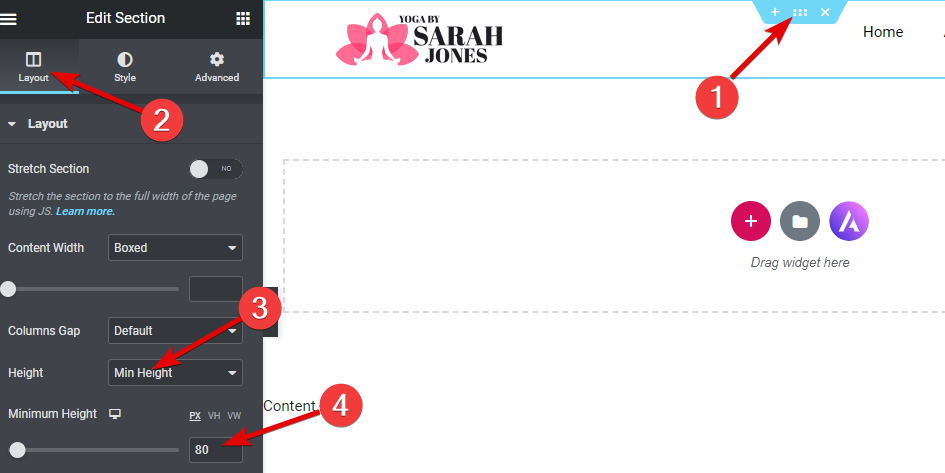
Set a specific height for the header, precise to the pixel.
To do that, select the section, and change the minimum height setting. You can measure the height of your existing header and set that as well, or you can choose any number that looks good on your website.
As you can see from the image, I set mine to 80 pixels. Whatever height you choose, remember it, as it will be useful later.
Next, the most important step. Now, we’re going to set the bottom margin of the section to the negative value of the header height. By default, the margins are linked to each other, so you will have to disable it before setting it up. Check the image below to see how to do it.
Since I set the height to 80 pixels, I will set its bottom margin to -80 pixels. Obviously, you will set it up based on the height that you set. Once you do it, publish the page by clicking the Publish button on the bottom left.

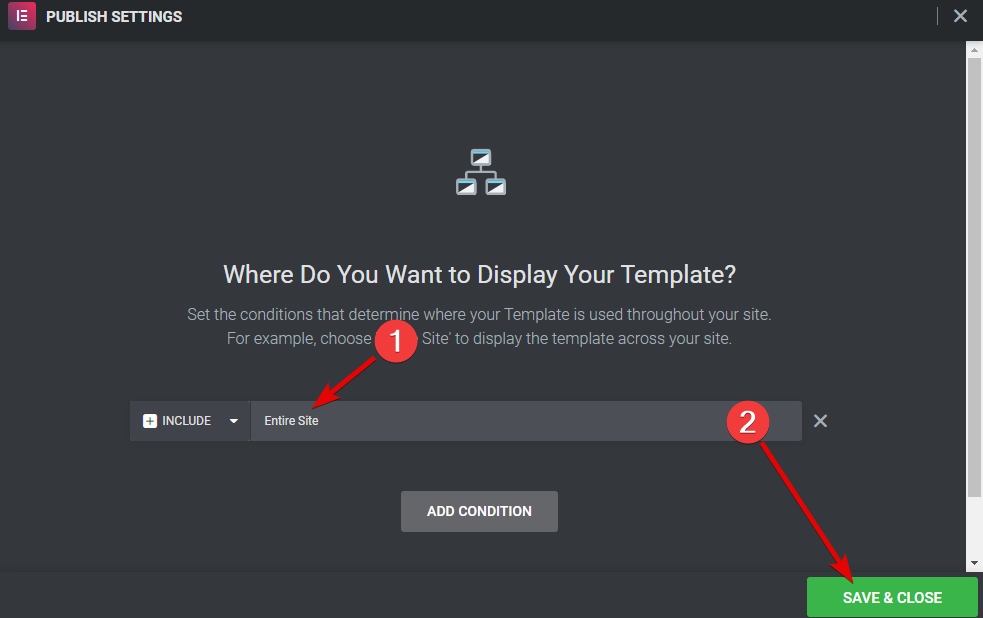
Once you hit publish, Elementor will ask you where you want to display your new header. Click the Add Condition button on the popup that appears.
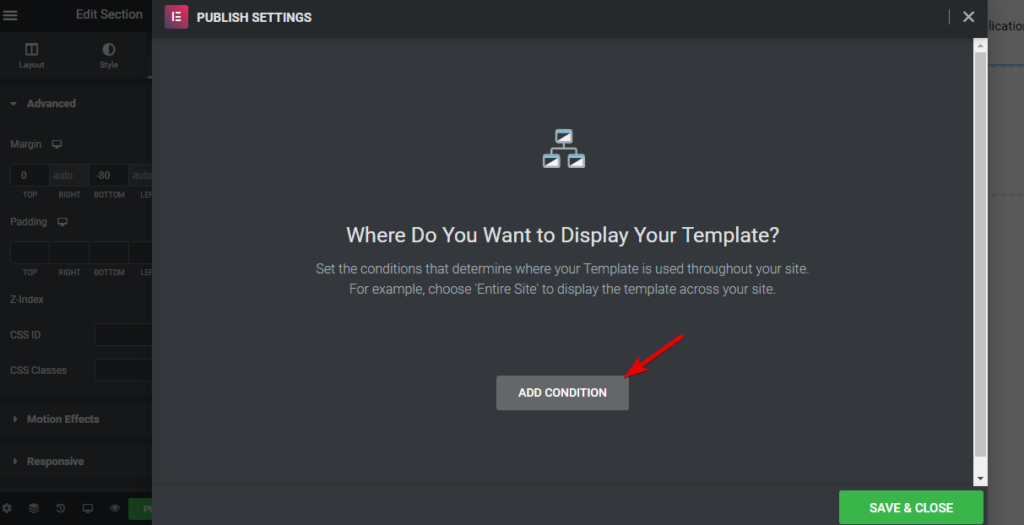
Here you will be able to set specific conditions for when this header should appear. For this example, I’m going to leave it at the default value of “Entire Site” and hit Save & Close.
Once you get a confirmation message, head back to your website and check your new, transparent header. Here is how mine turned up.

Here is another quick before and after for comparison.

And we’re done!